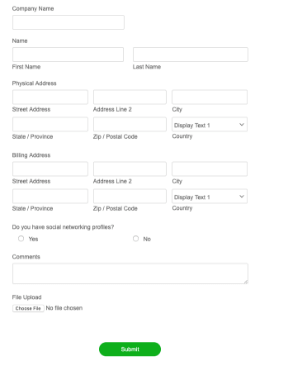
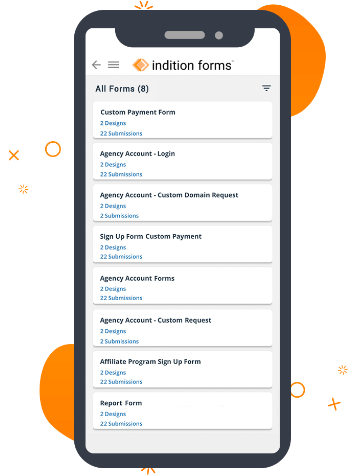
This article will walk you through the process of selecting a page template for a form design and editing the selected page to be custom and relevant to your needs. If you have not learned how to customize your form design, you can learn how to do that, here. In this article, we will only be covering how to select and edit the web page to display your form on and will not cover any of the styling of the form design itself.
Step 1 - Go to the Form Design Settings Page
Go to the form you wish to display on a web page. Then either create a new form design or edit an existing form design for that form. Within the form designer, you will then see a Settings button at the top right of the page. Click on this and you will be taken to the Form Design Settings page.
Step 2 - Selecting a Page Template
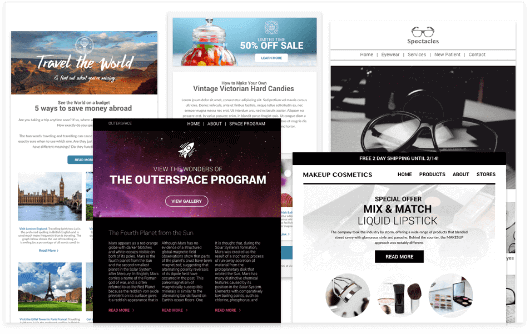
From the Form Design Settings page, click on the Change Template button at the top left. This will pull up the page template options on the right hand side of the settings page. Here you will be able to see a thumbnail image of the page templates available to place your form design on. Click preview to access a larger view of the page template and once you are in the preview pop up, you can click the arrows to flip through the rest of the templates. When ready, click on the Select button and then confirm your selection. Once a page template is selected for your form design, you will see the selected page design on the right hand side of the settings page. At this point, the page template is already saved and you can close the settings page to return to the form designer.
Step 3 - Editing & Configuring the Web Page
Once you have selected your page template and returned to the Form Designer by closing the Settings screen, you are ready to start editing your page. In the form designer, click on the Page View tab beside the Form View tab, which is the tab you're on by default. This is where you will be able to view and edit your selected web page.
Once in the page view, you will see that your selected page template is displayed with your form contained on the page. In the right hand sidebar, you will see the different components that make up your web page (we call these components widgets). To edit the different sections of your webpage, find the widget that contains the content you want to edit and click on it. The editing options that appear will depend on the type of widget you are trying to edit. See the widget editing section below for more details about how to edit each widget type. Once you are satisfied with you content edits, click the save button and then close the widget editor. You will then see your edit applied to the webpage automatically. You are not able to add additional widgets to the page, but you are able to enable and disable widgets. So if you see that there is a template that fits the layout you want but has a few extra content sections that you don't think you'll need, then continue to select that template and you will be able to disable any unwanted content sections to remove them from the page. To disable a widget, click on the eyeball icon within the widget. You will see that the eyeball becomes crossed out to indicate that the widget is disabled and you will see the content contained within the widget removed from the web page. When you are satisfied with how your page is looking, you are done! Click on the Preview button at the top right of the page to see how the page will look to your page visitors and if you are content with the result, you can exit the Form Designer and you're done.
Widget Types and Editing
What You See is What You Get (WYSIWYG) - This widget contains a text editor that allows you to edit content as well as manipulate the styling of that content using a standard text editing toolbar. Beyond just text, you are able to insert links, images, videos, and tables within this widget. And if you are technically inclined, you may open the HTML editor to control the actual code behind the widget. When you are done click Save to save your changes and then click the close editing option to return back to the Page View.
Image Widgets - This is a widget type that lets you select an image from either your own document repository, upload and select an image from the Indition document repository, or to select an image by providing an image URL that is hosted elsewhere. Once you have an image selected, you can choose to resize the image, apply a border to the image, or even apply filter effects to your image. For the filtering, click the "Enable Filter Effects" checkbox to expose your filtering options which include but are not limited to Brightness, Opacity, Hue, Drop Shadow, etc... When you are done click Save to save your changes and then click the close editing option to return back to the Page View.